This page has been fully written by Carol Guevara and validated by Thomas Broussard
What is TDD?
Test-driven development or design (TDD) is a style of software development in which coding and testing are tightly integrated (intertwined) in the form of unit testing and after each test the code is refactored until it conforms to the testing criteria. The process is done as many times as necessary until each unit is working to the desired specifications.
This method can be better defined by the following set of rules:
- Develop a single unit test that implements a feature of the program
- Run the test (Which should fail because the program lacks that feature)
- Implement the simplest possible code to comply with the test
- Refactor the code until it meets all the specifications
- Repeat the same process with other features
Using Test-driven Development results in better design, higher quality and ensures that all units in a program have been tested for optimal functionality. Also, because tests are conducted from the beginning of the design cycle time and money spent in debugging at later stages are minimized.
JUnit with Maven
What is JUnit?
JUnit is a widely used open source framework used to implement unit testing in Java.
What is Maven?
Maven is a software project management and comprehension tool. Based on the concept of a project object model (POM), Maven can manage a project’s build, reporting and documentation from a central piece of information. Maven knows from where to download any third party libraries and their dependencies. When using Maven test code and other third party libraries used only for testing are not included when packaging the final application.
How to Setup JUnit with Maven
Click on the Help menu and then click on Install New Software.
In the next window type http://download.eclipse.org/technology/m2e/releases/1.4/1.4.0.20130601-0317 in the Work with field. Make sure the Maven Integration for Eclipse box is checked then click next.
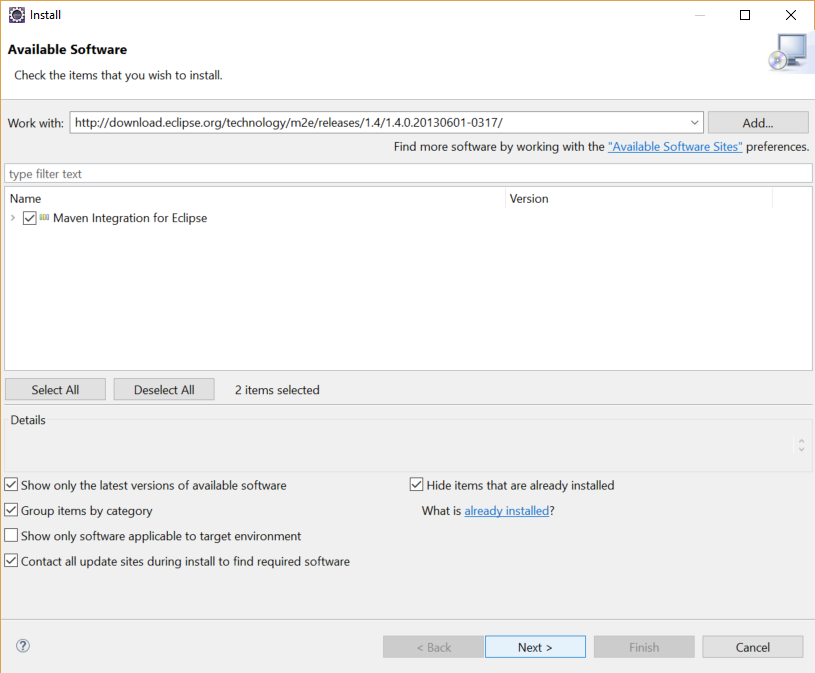
Click next, accept the terms of license agreement, click on Finish.
In my case the process could not be completed since it was already installed in the system.
Eclipse might need to be restarted.
Creating a new project with eclipse Neon
Click on File -> New -> Other and select Maven Project
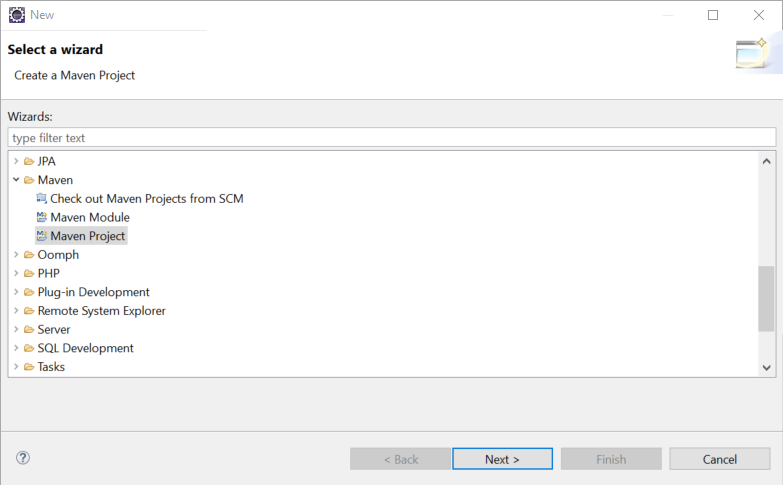
Click Next
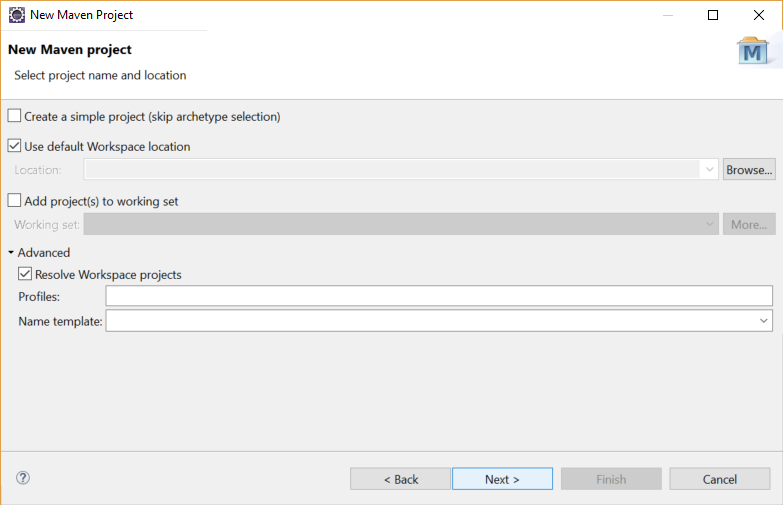
Click Next
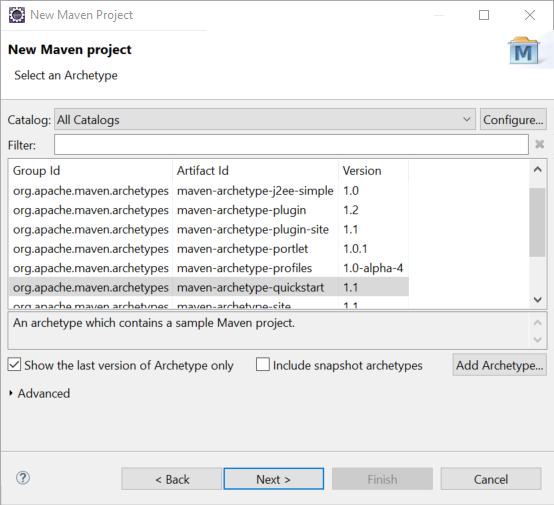
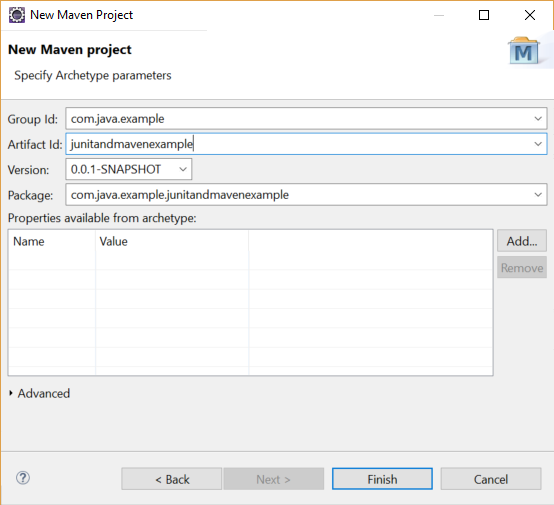
The Group Id and Artifact Id fields need to be completed. Then click on Finish
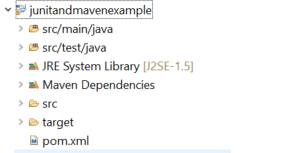
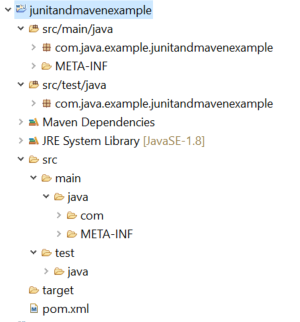
This is the resulted folder structure. Note that the version of the JRE System Library needs to be updated from version 1.5 to 1.8
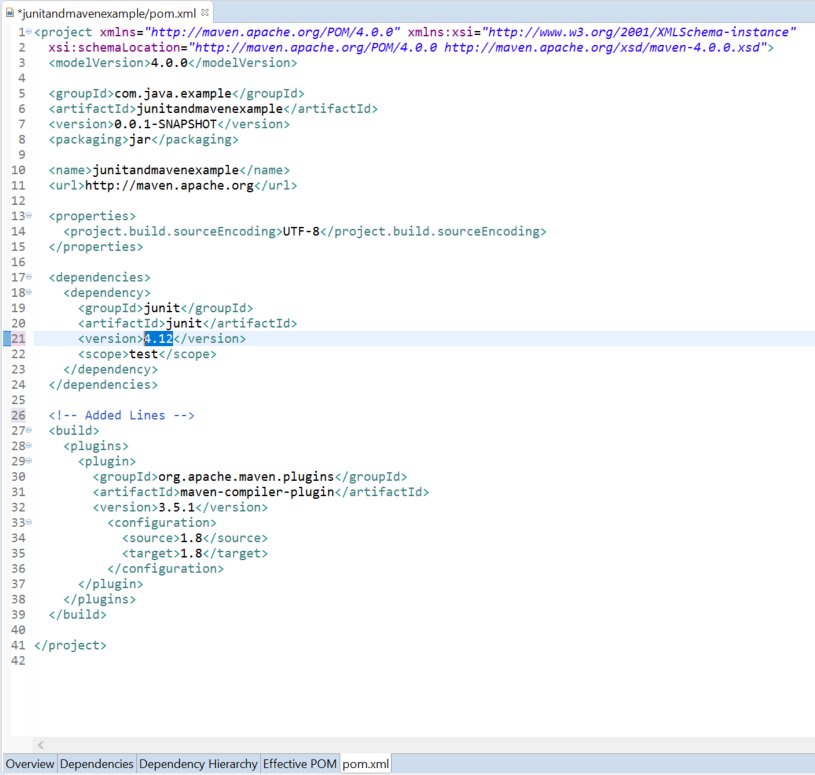
The pom.xml file needs to be modified to change the JRE version

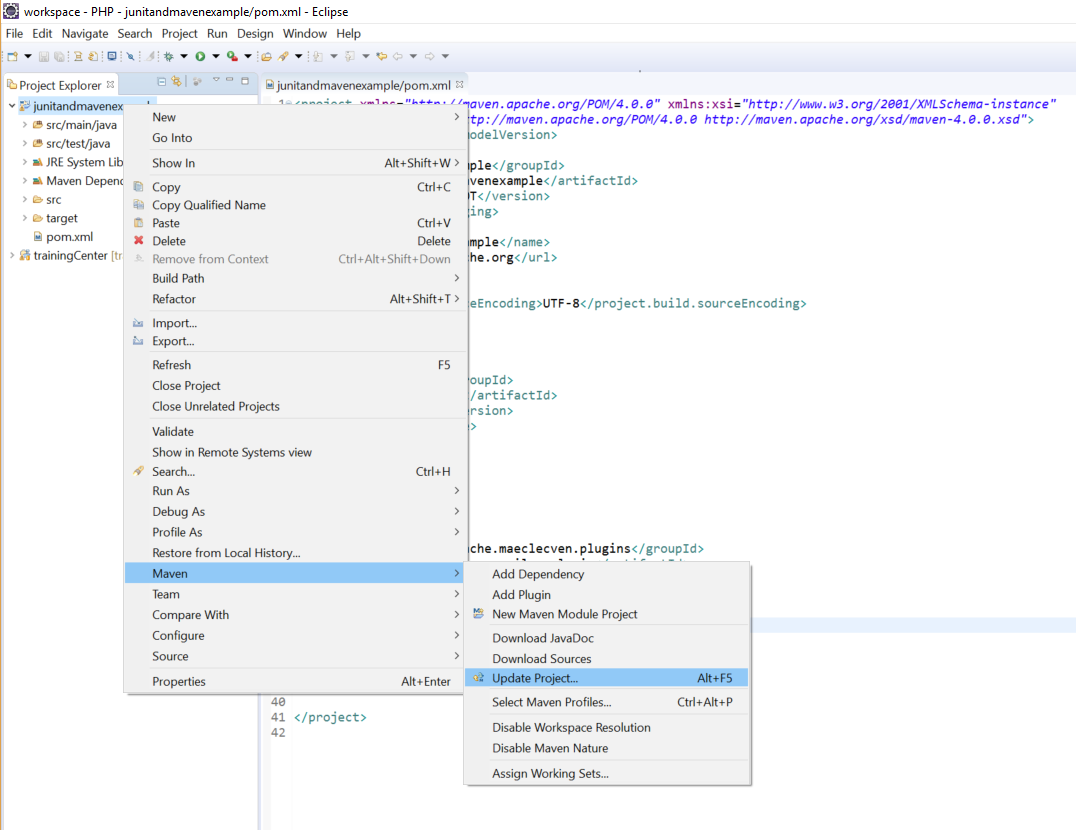
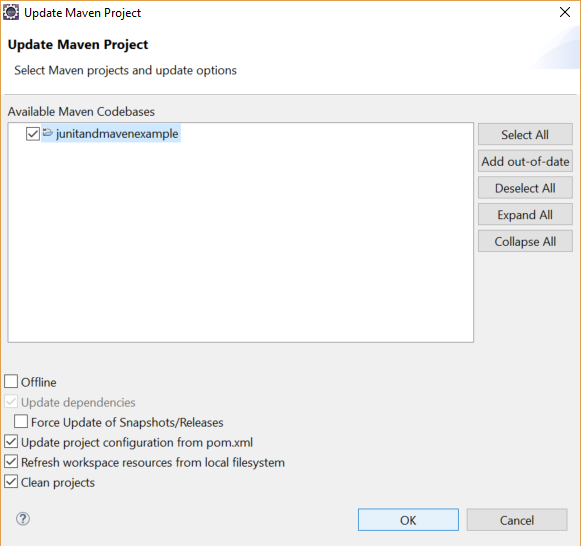
Then the project needs to be updated. Click on the name of the project, then right click >Maven -> Update Project
Click Next
The updated version of the JRE should be visible in the folder structure
Now to use JUnit 4 the JUnit library needs to be modified in the pom.xml, then the project needs to be updated again following the steps mentioned above.
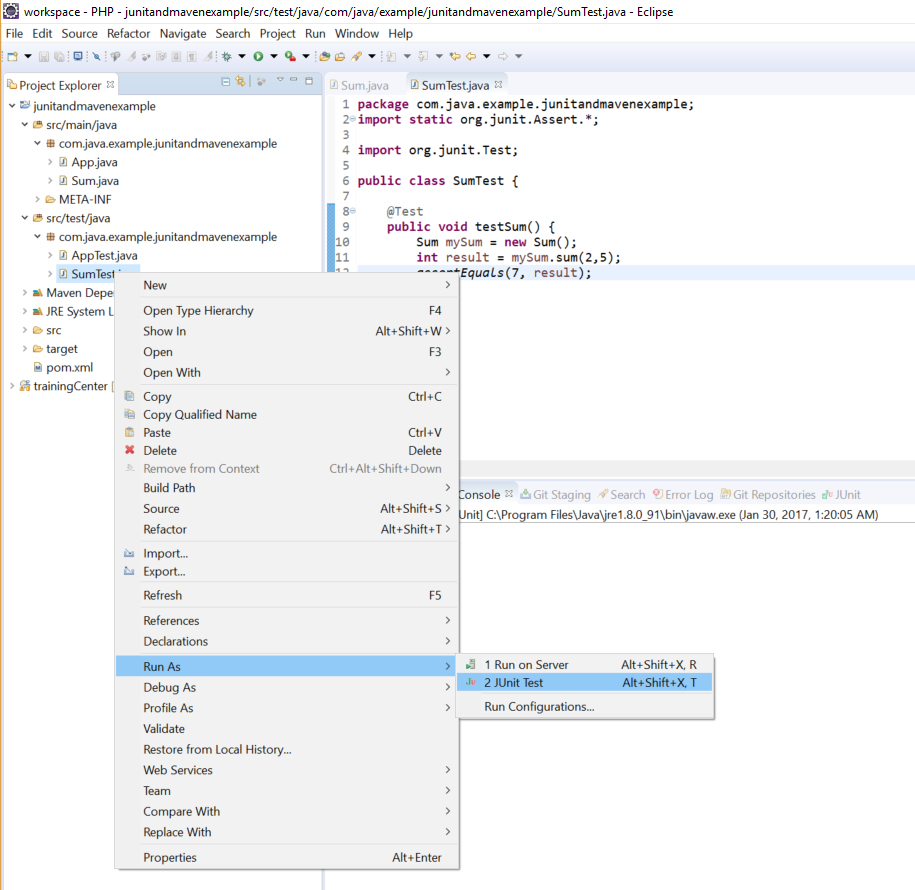
Testing with JUnit
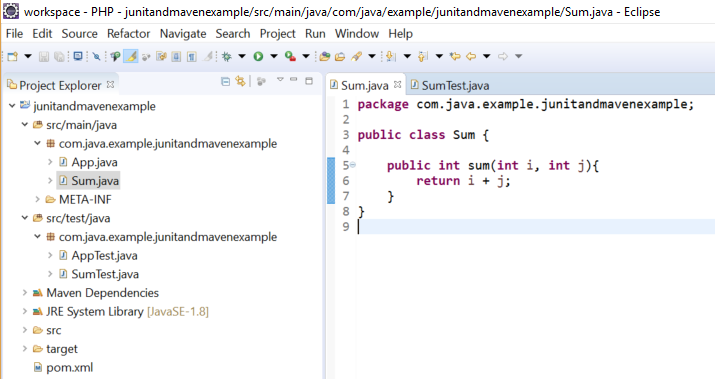
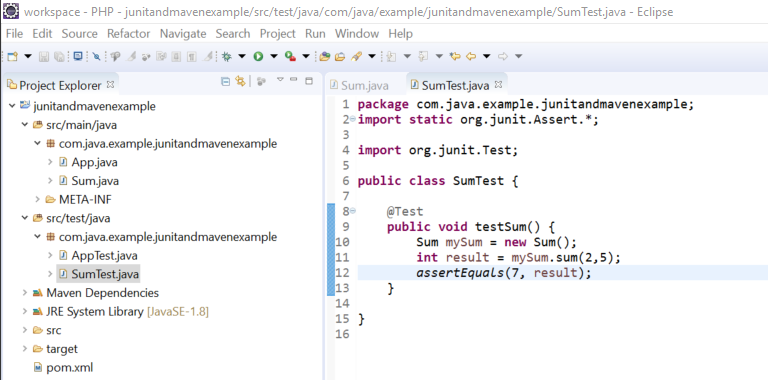
In order to do a simple test using JUnit two small classes have been implemented.

How to Setup JUnit with Spring
The pom.xml needs to be modified in order to integrate Junit with Spring. Then it will be possible to use Spring Test Framework as well as the Context Package to inject the objects into the test cases.
Sources
http://searchsoftwarequality.techtarget.com
http://searchsoftwarequality.techtarget.com
https://www.tutorialspoint.com/junit/junit_test_framework.htm
https://www.tutorialspoint.com/maven
http://www.javacreed.com/why-should-we-use-maven
https://examples.javacodegeeks.com/core-java/junit/spring-junit-test-example
https://www.mkyong.com/unittest/junit-spring-integration-example